Instructions for Insulation Pins
How to Install Insulation Pins
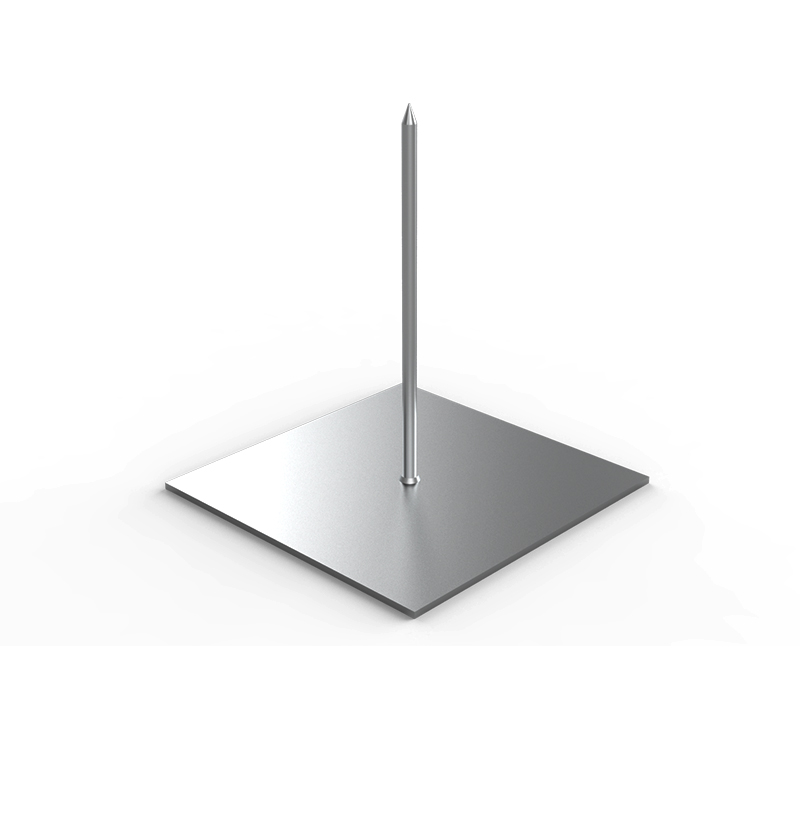
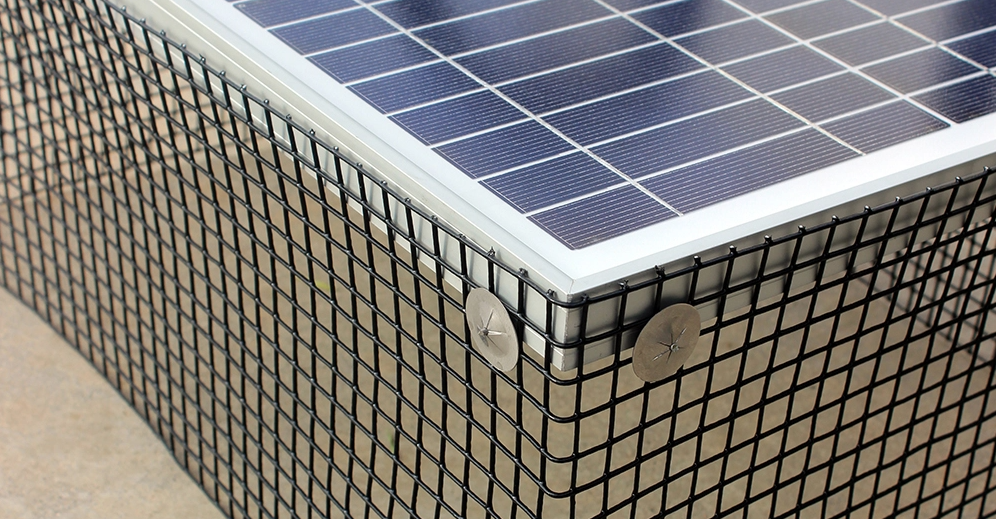
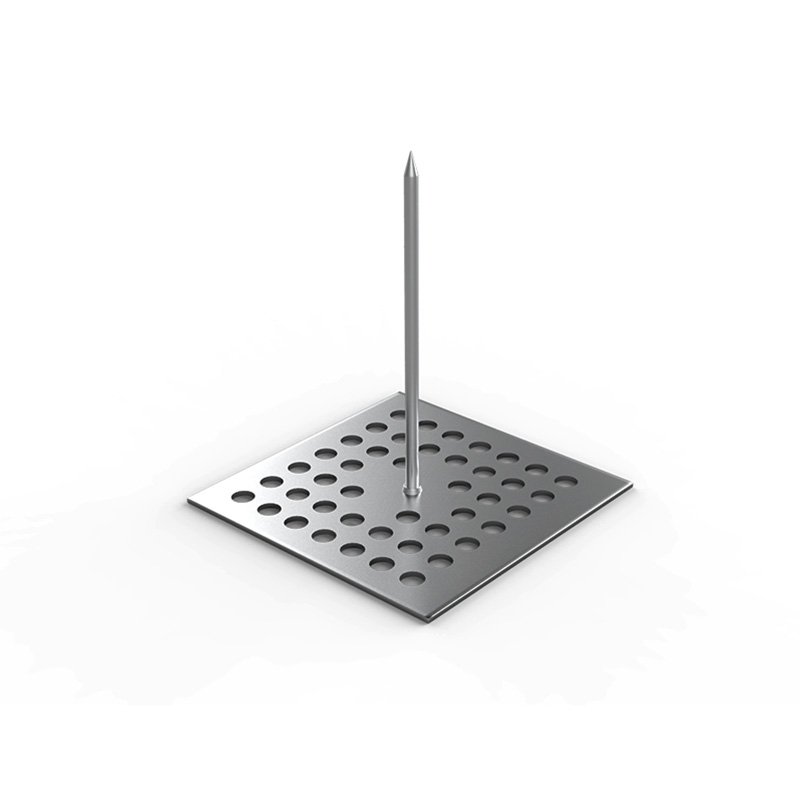
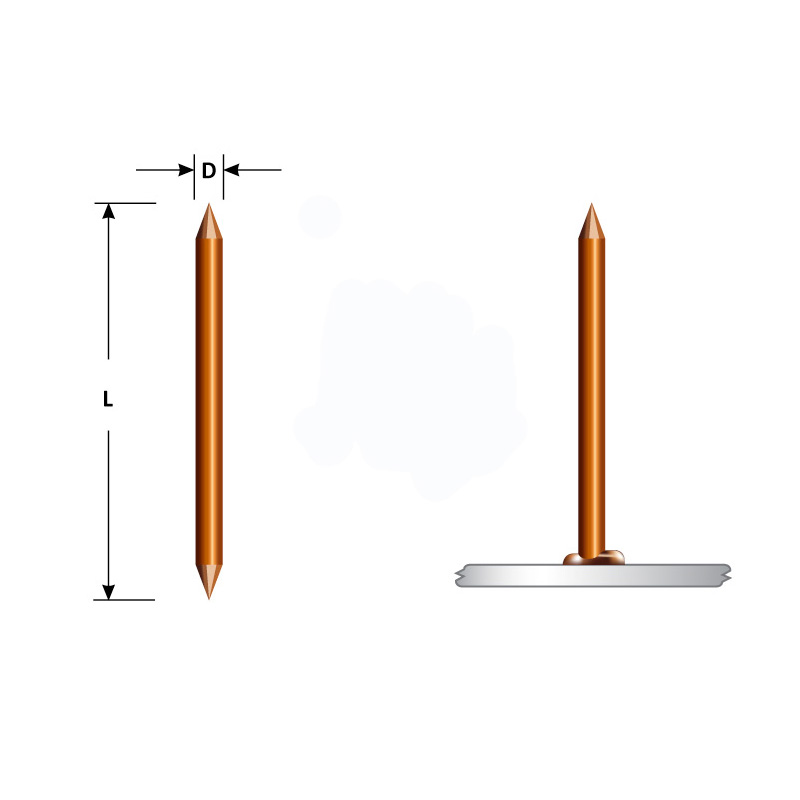
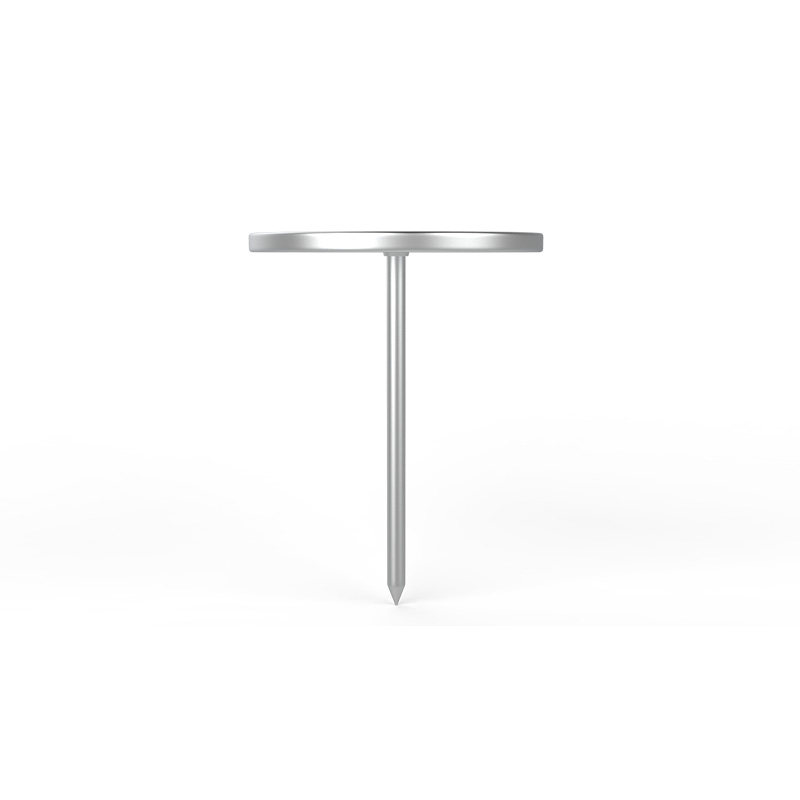
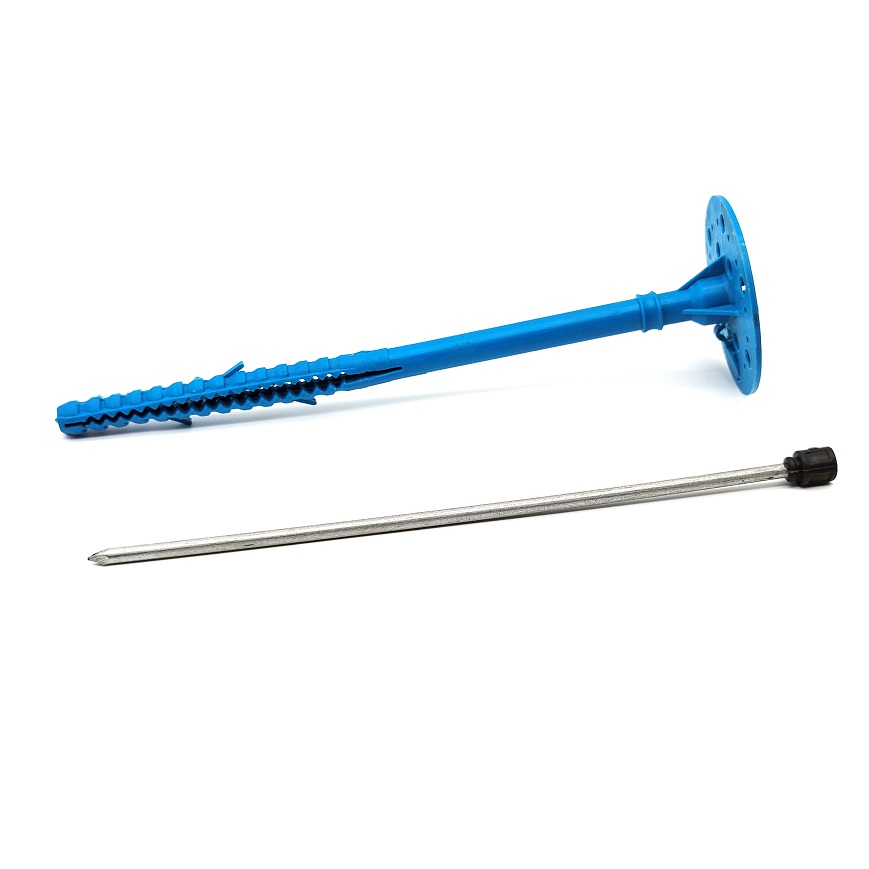
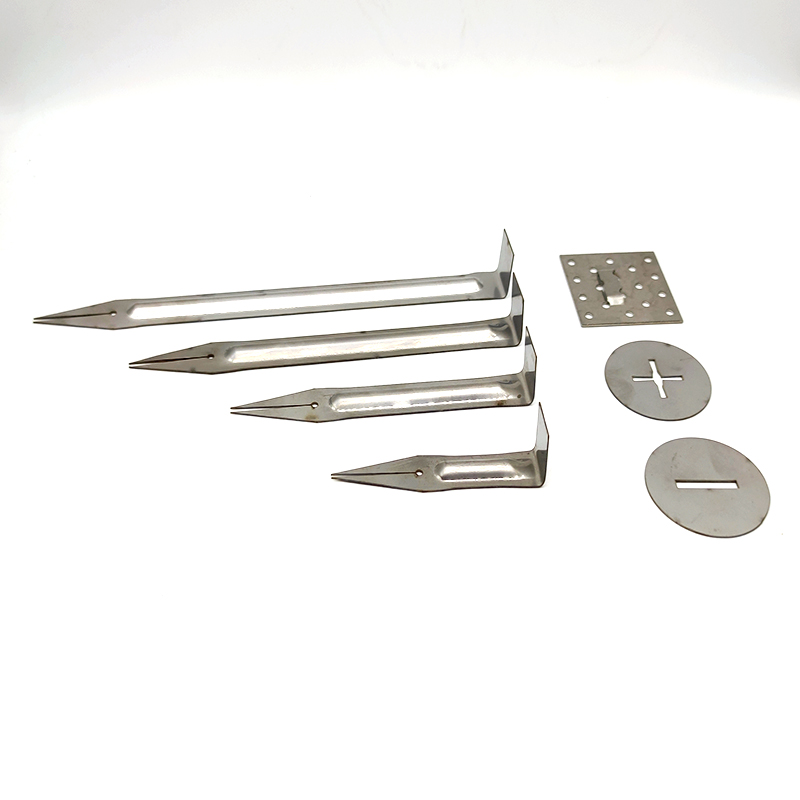
Insulation pins are small metal fasteners used to secure insulation materials to a surface. If you need insulation pins, check out our website at https://www.insulationnails.com.
Steps to Install Insulation Pins
1、Prepare the surface: The surface where insulation pins will be installed should be clean, dry, and free of debris. Remove any loose material, dust, or dirt from the surface.
2、Mark the insulation: Mark the location where the insulation will be installed on the surface. This will help you to determine the spacing and the number of insulation pins required.
3、Install the insulation: Install the insulation material on the surface, making sure it is secured in place before proceeding to the next step.
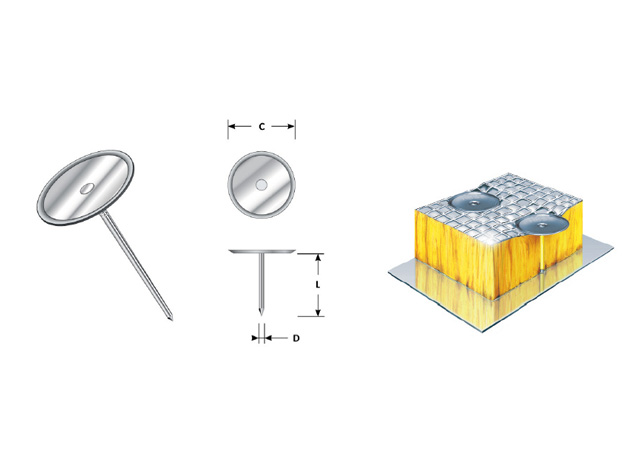
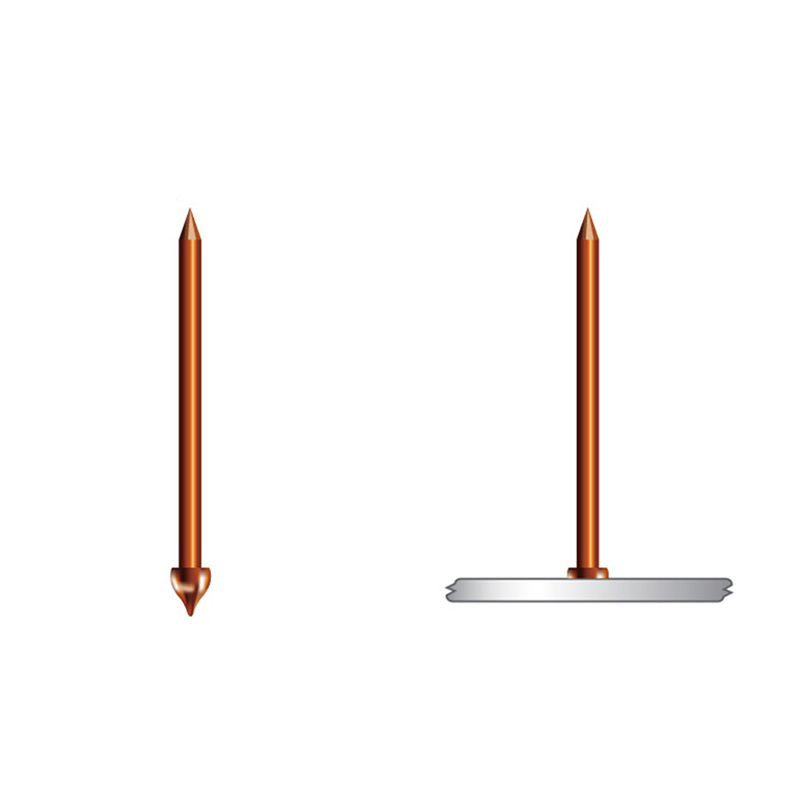
4、Install the insulation pins: Insert the insulation pins through the insulation material and into the surface. Use a hammer or a pneumatic tool to drive the pins into the surface until the head of the pin is flush with the insulation.
5、Space the insulation pins: Space the insulation pins according to the manufacturer's recommendations. Typically, insulation pins are spaced 6 to 8 inches apart along the perimeter of the insulation.
6、Repeat the process: Repeat the above steps until all insulation pins are installed.
7、Secure the insulation: Check to make sure the insulation is properly secured to the surface. If necessary, use additional insulation pins to reinforce any weak spots.
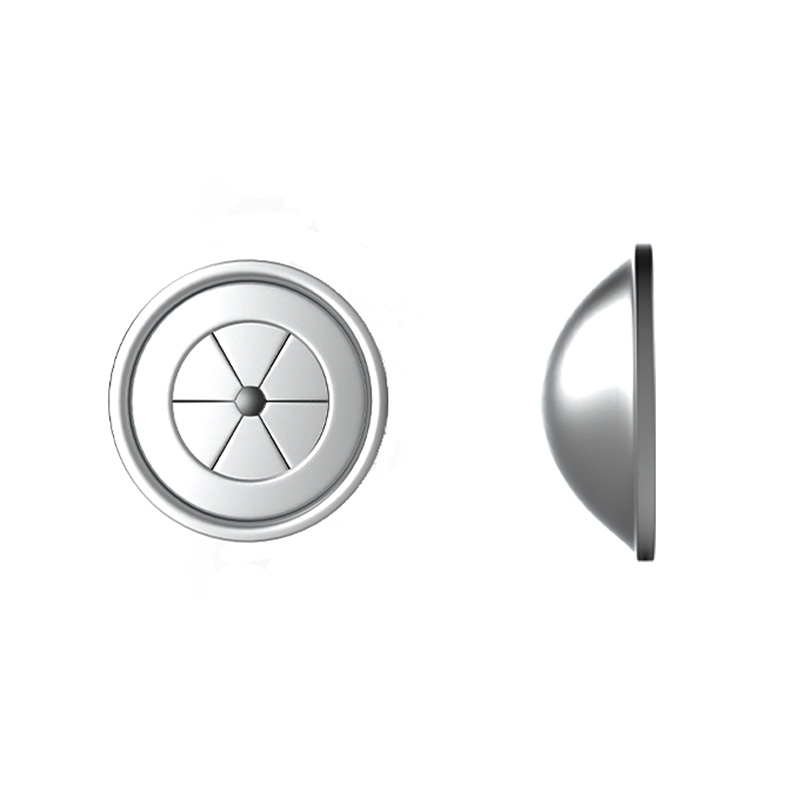
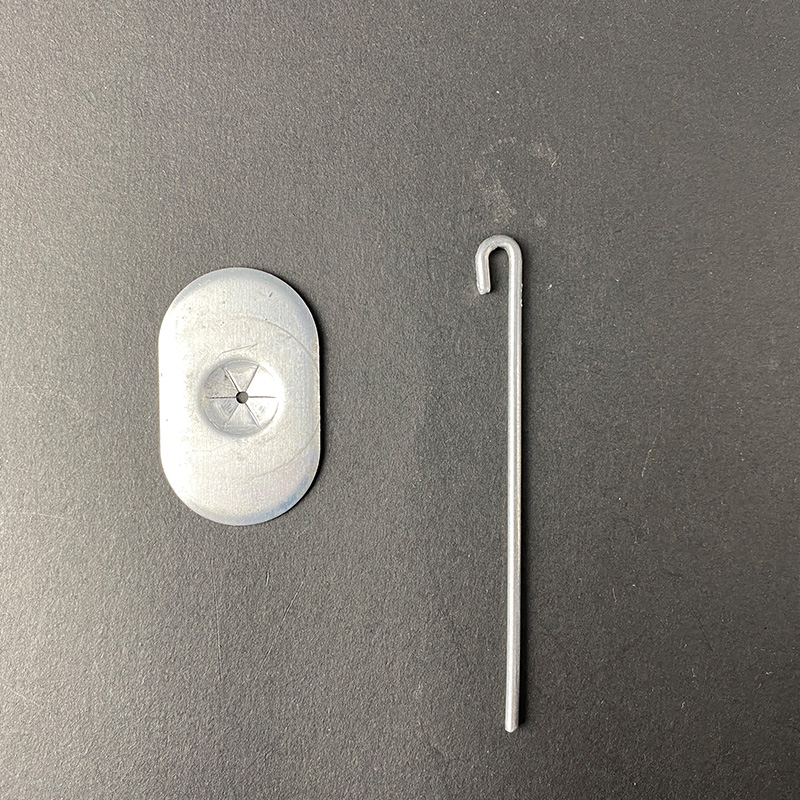
8、Cover the insulation pins: Cover the insulation pins with a compatible insulation material, such as a metal or plastic washer, to prevent them from rusting or corroding.
9、Inspect the installation: Once the insulation pins are installed, inspect the installation to ensure that it meets the required standards and specifications.
By following these instructions and visiting our website at https://www.insulationnails.com, you can install insulation pins effectively and securely, ensuring that the insulation material remains in place and performs as intended.

